Here is what I came up with.

I used a size 8 tag and I sprayed it with Fossilized Amber Distress Spray. I used a flower stencil and sprayed again with Pirates' Plunder Gold Moon Shadow Mist from Lindy's Stamp Gang. When all that was dry I sprayed Sunflower Sparkle Perfect Pearls Spray lightly over the entire tag. Using Fossilized Amber Distress Ink I stamped a sunflower stamp randomly over the background. It's very subtle and doesn't show in the photos but it adds some dimension to the background. From my stash I took a sunflower cocktail napkin and used gel medium to adhere that to the bottom left of the tag. Tim Holtz Thinlets dies are fun to use and I decided to use the diamonds to cut out part of the tag. For a backing I used one of the papers from my favorite Graphic45 designs, French Country. I attached the tag to the piece of paper and then cut it to size. As part of Linda's gift was the botanical print of the sunflower. I glued it to a piece of chip board and edged it with Vintage Photo Distress Glitter. I attached it, and a definition of "sunflower" that I tore out of an old dictionary, to the tag along with a banner sticker and the Le Jardin sticker from the Graphic45 paper set. The brown dot stickers filled in the space above the botanical print. The button and sunflower charm were part of the gift. I decided to add some definition to the diamond cut outs by outlining the inside of each one with a Pitt Pen in Sepia. I also outlined the strip of dictionary paper and the Le Jardin sticker with the pen.
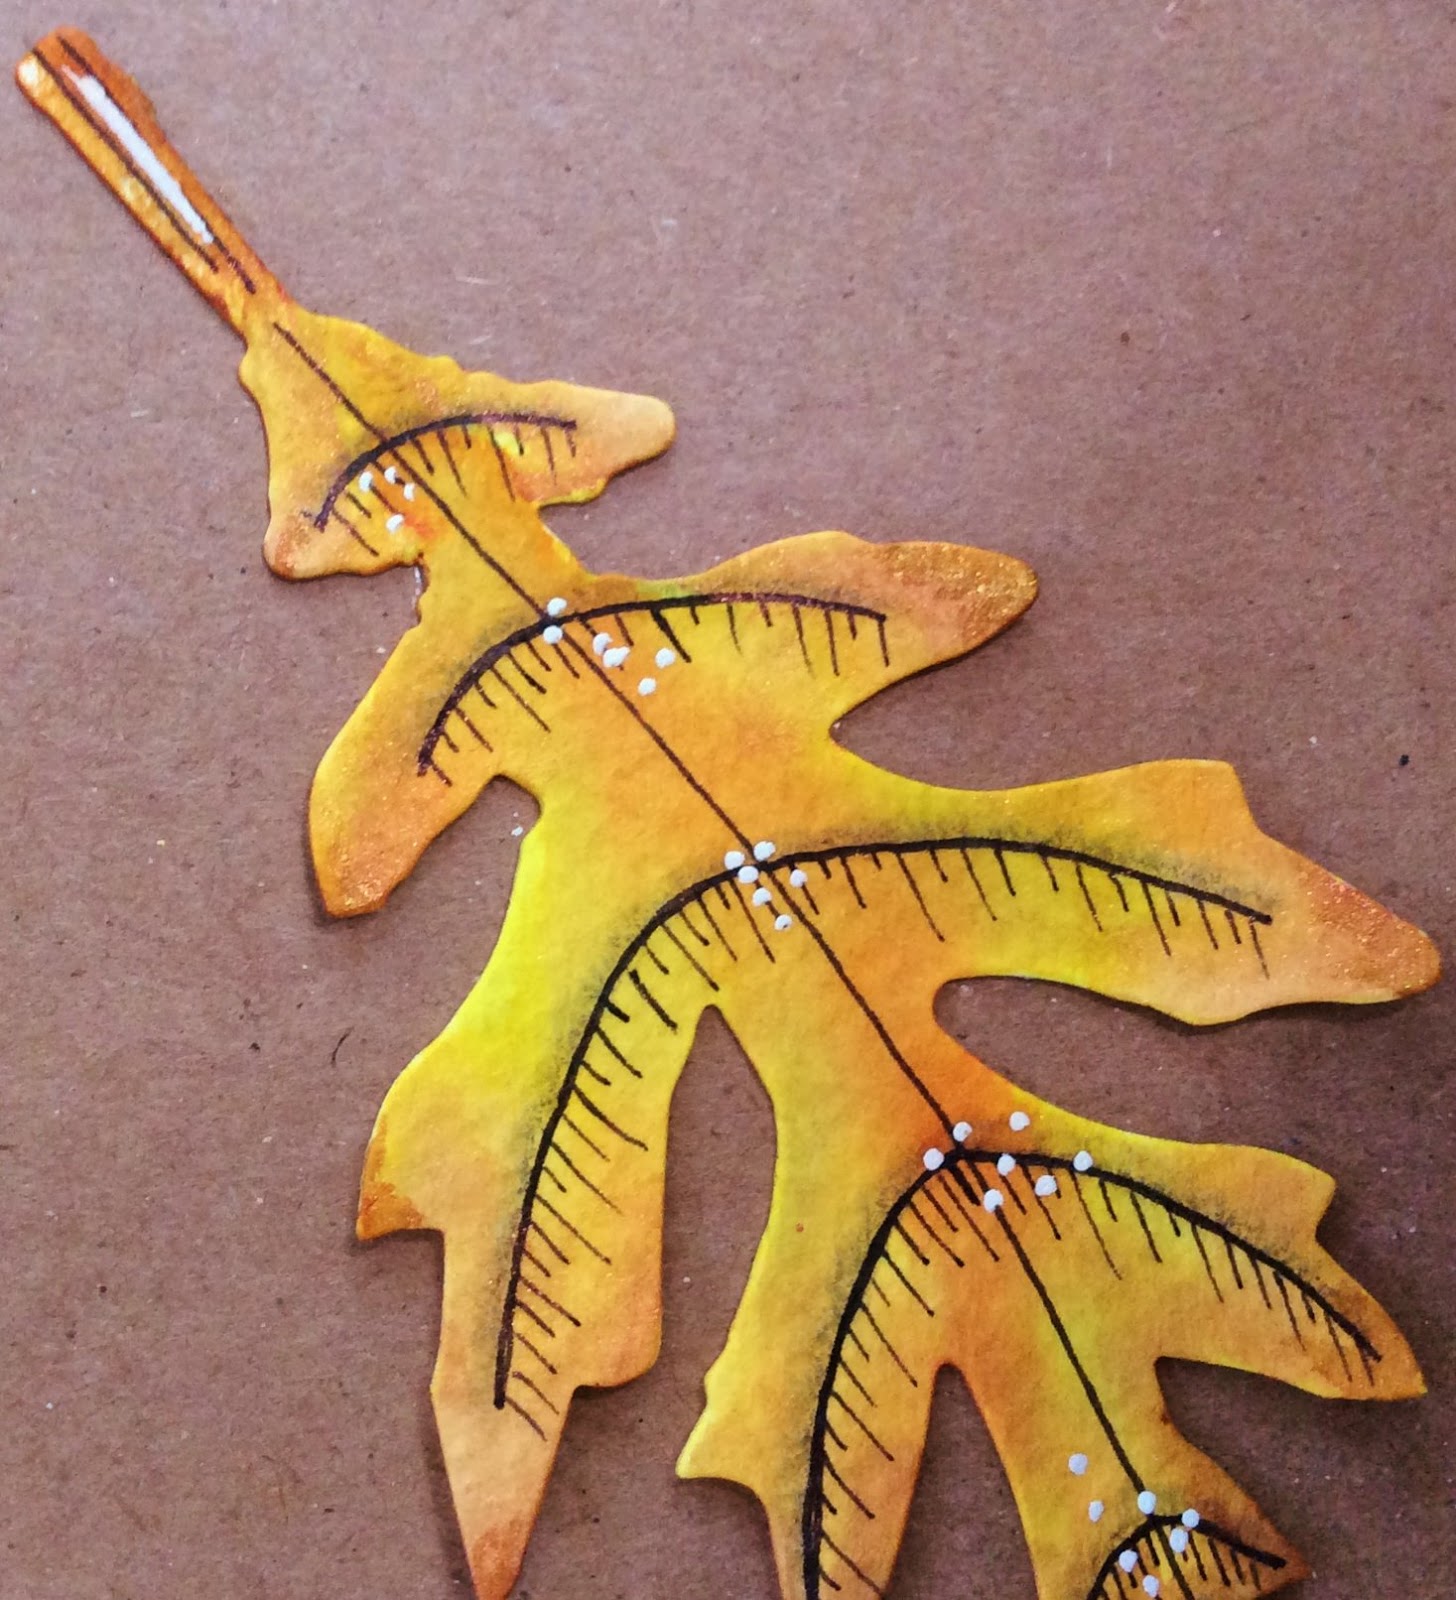
Here are some details.


I'm going to enter this in the Frilly and Funkie challenge since I really "layered up" the background, the embellishments and the back of the die cut area!
I want to thank everyone for stopping by today. I appreciate it especially since I haven't been around very much at all lately. I hope you have a wonderful day and that Spring isn't too long in coming for all of you!